Commit f9bd95
2026-05-01 10:37:43 lisa: Y7 wiki: add step-by-step photos to Pi setup page Embed the source images from the identify-ports-cables video so students can follow along visually, one photo per step.| dt7/Raspberry Pi - Setting Up.md .. | |
| @@ 16,12 16,45 @@ | |
| ## The Six Steps | |
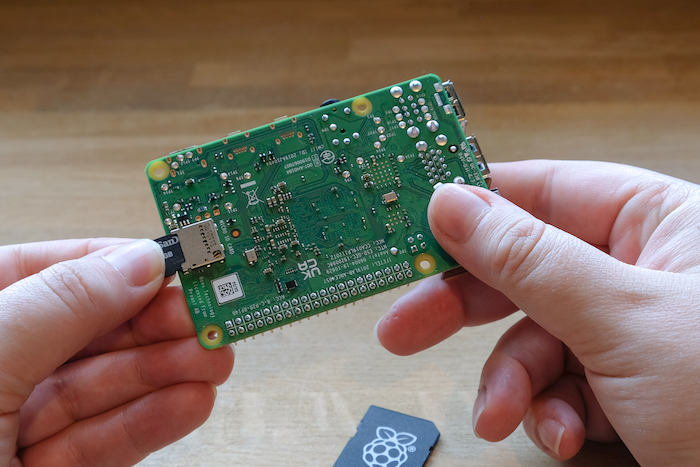
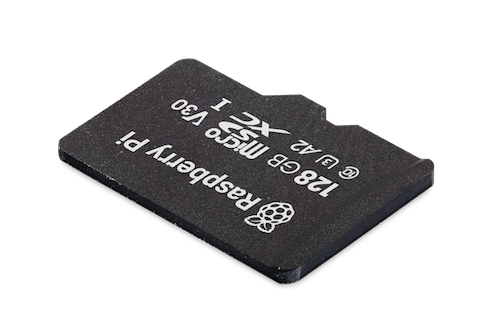
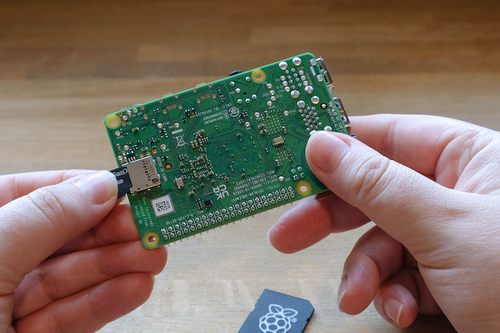
| - | 1. **Storage** — slide the microSD card into the slot on the underside of the board. This is the Pi's "hard drive" — it holds the operating system. |
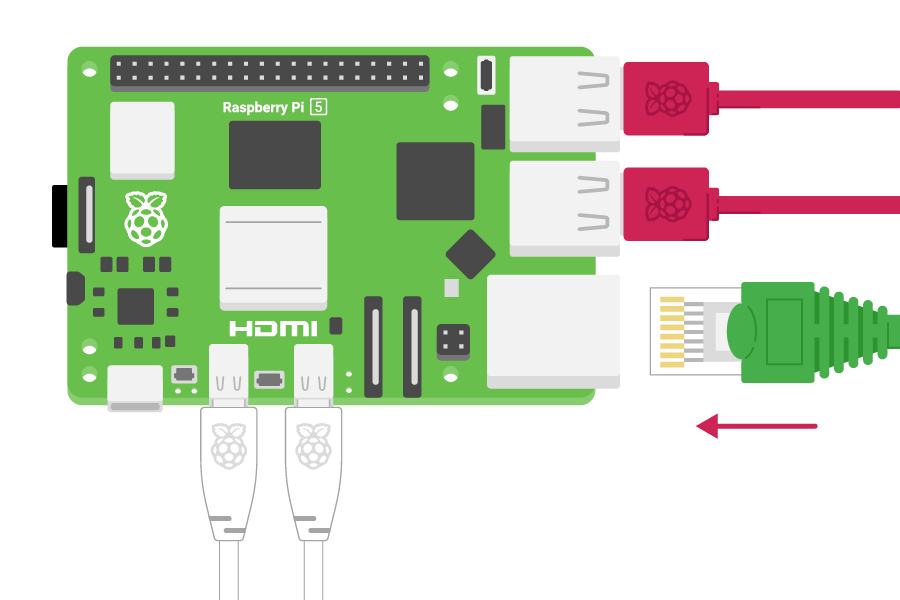
| - | 2. **Input** — plug a keyboard and mouse into the USB-A ports (the rectangular ones). |
| - | 3. **Display** — connect the monitor with an HDMI cable. The Pi 5 uses *micro* HDMI, so look for the small trapezoid shape. |
| - | 4. **Network** — push the Ethernet cable into the network port until it clicks. (You can skip this step if you'll use Wi-Fi.) |
| - | 5. **Check** — every cable should be in a different port. Each port has a unique shape, so if a cable feels forced, it's the wrong port. |
| - | 6. **Power** — plug the USB-C power supply in *last*. The Pi has no on/off switch; supplying power *is* turning it on. |
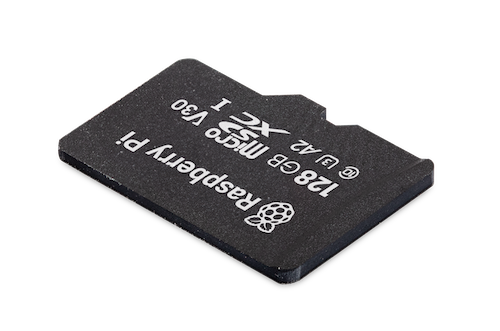
| + | ### 1. Storage |
| + | |
| + | Slide the microSD card into the slot on the underside of the board. This is the Pi's "hard drive" — it holds the operating system. |
| + | |
| + |  |
| + | |
| + |  |
| + | |
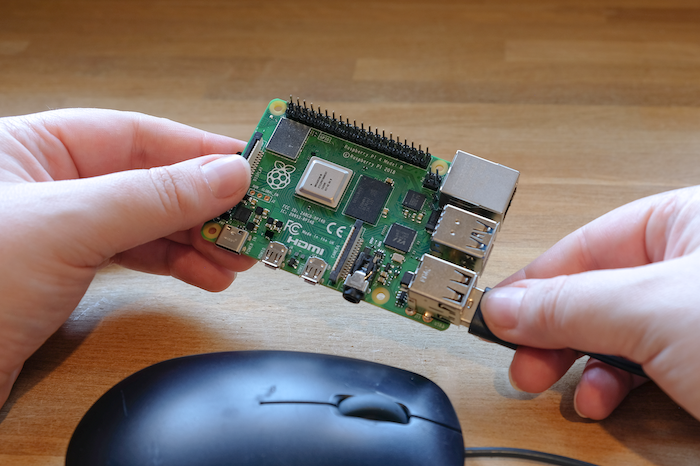
| + | ### 2. Input |
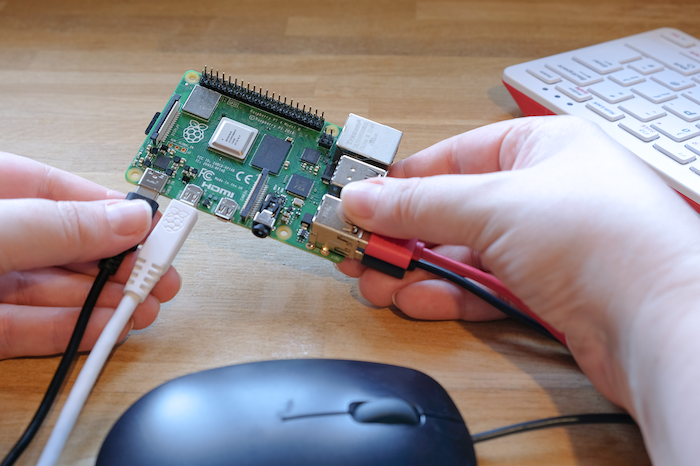
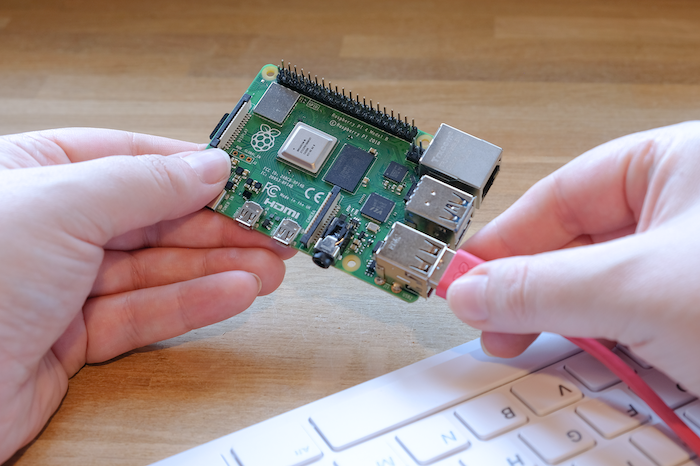
| + | |
| + | Plug a keyboard and mouse into the USB-A ports — the rectangular ones. |
| + | |
| + | 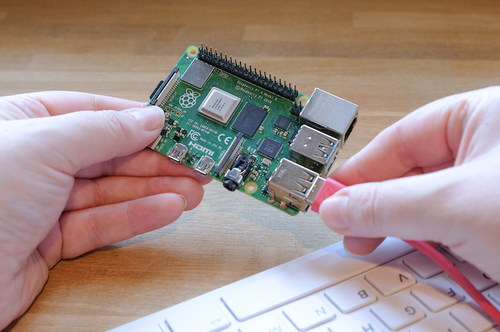 |
| + | |
| + | 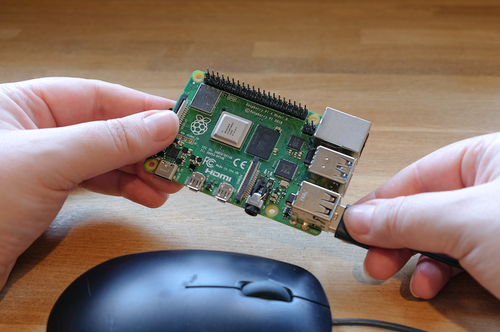 |
| + | |
| + | ### 3. Display |
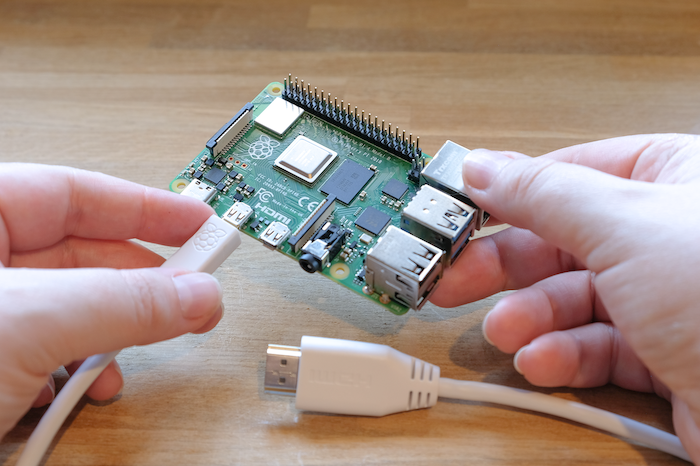
| + | |
| + | Connect the monitor with an HDMI cable. The Pi 5 uses *micro* HDMI, so look for the small trapezoid shape. |
| + | |
| + | 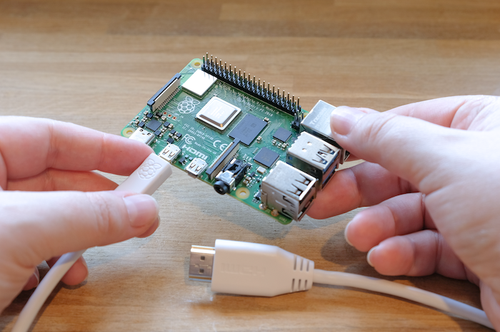 |
| + | |
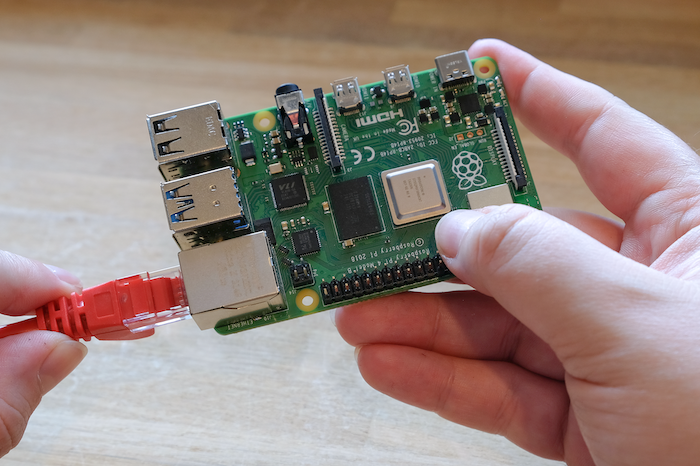
| + | ### 4. Network |
| + | |
| + | Push the Ethernet cable into the network port until it clicks. (You can skip this step if you'll use Wi-Fi.) |
| + | |
| + | 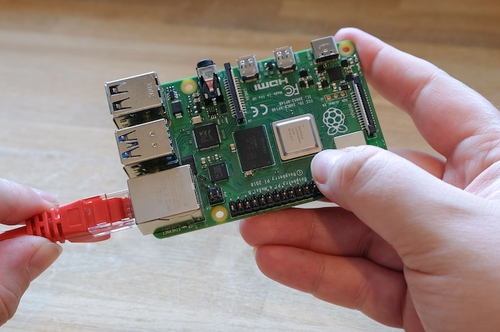 |
| + | |
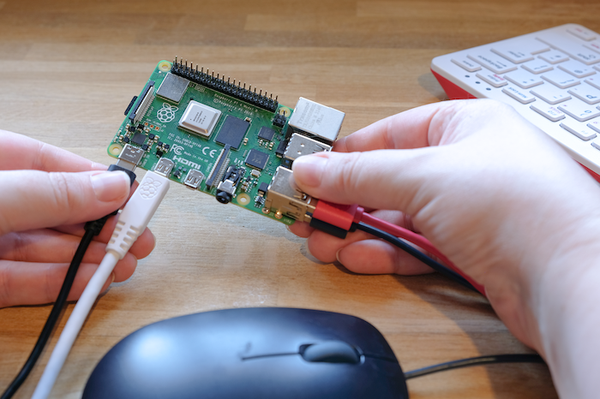
| + | ### 5. Check |
| + | |
| + | Every cable should be in a different port. Each port has a unique shape, so if a cable feels forced, it's the wrong port. |
| + | |
| + |  |
| + | |
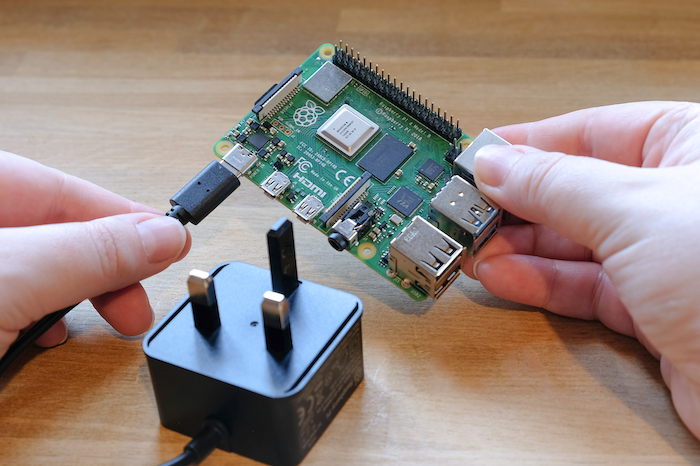
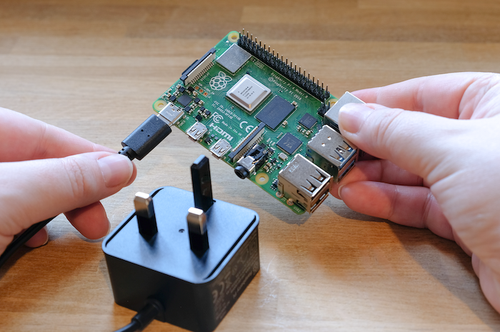
| + | ### 6. Power |
| + | |
| + | Plug the USB-C power supply in *last*. The Pi has no on/off switch — supplying power *is* turning it on. |
| + | |
| + |  |
| --- | |
| /dev/null .. dt7/Raspberry Pi - Setting Up/00-opener.png | |
| /dev/null .. dt7/Raspberry Pi - Setting Up/cable-all.png | |
| /dev/null .. dt7/Raspberry Pi - Setting Up/cable-hdmi.png | |
| /dev/null .. dt7/Raspberry Pi - Setting Up/cable-key.png | |
| /dev/null .. dt7/Raspberry Pi - Setting Up/cable-mouse.png | |
| /dev/null .. dt7/Raspberry Pi - Setting Up/cable-net.png | |
| /dev/null .. dt7/Raspberry Pi - Setting Up/cable-power.png | |
| /dev/null .. dt7/Raspberry Pi - Setting Up/microSD.png | |
| /dev/null .. dt7/Raspberry Pi - Setting Up/sd-card.png | |